

Tinted windows are one of the most popular upgrades for cars, offering privacy, protection, and a sleek look. However, keeping them clean requires extra care compared to standard glass. If you’re wondering how do I clean tinted windows without damaging the film, you’re not alone. Many car owners make the mistake of treating tinted glass like regular windows. It can lead to scratches, bubbling, or peeling over time.
Cleaning tinted windows properly not only keeps them looking crystal clear but also extends the lifespan of the tint film. Since tint is applied as a delicate layer on the inside of the glass, harsh chemicals and rough tools can ruin its appearance. With the right approach and cleaning products, you can maintain streak-free windows while preserving the tint’s color and durability.
Preparing to Clean Tinted Windows
Before you dive into the cleaning process, it’s essential to gather the correct supplies. Tinted glass should only be cleaned with a soft microfiber cloth, a mild soap or tint-safe cleaner, and distilled water in a spray bottle. These tools ensure you can wipe away dirt and dust gently without scratching the film and leaving behind streaks. Distilled water is preferred over tap water since it prevents mineral deposits from forming on the surface.
Equally important is knowing what to avoid. Standard glass cleaners often contain ammonia, a chemical that can discolor or weaken the tint film. Paper towels and abrasive sponges are also problematic because they create fine scratches that become more noticeable over time. By preparing with the right cleaning kit, you’ll avoid costly mistakes and protect the investment you made in window tinting.
Step-by-Step Cleaning Process
Step 1: Dust and Wipe the Surface Gently
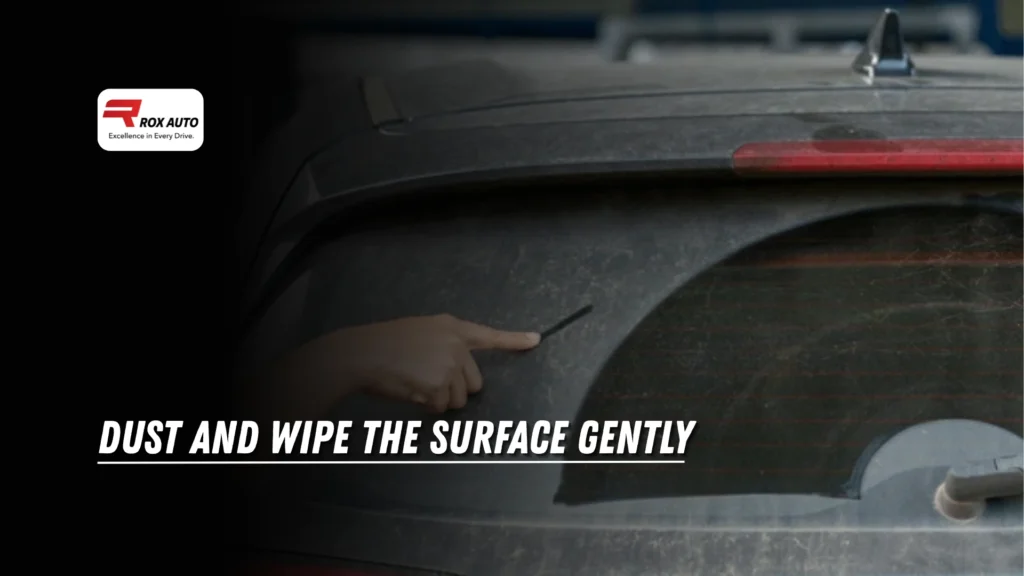
The first step in cleaning tinted windows is to remove surface dust and loose debris. Use a dry microfiber cloth to wipe the inside of the window gently. This step prevents dirt from being dragged across the tint when you begin applying a cleaning solution. If you skip this step, you risk scratching the film with trapped particles.
Taking a few minutes to dry-wipe the glass also makes the following cleaning steps more effective. It ensures the solution you spray directly targets smudges, fingerprints, and film buildup instead of floating dust.
Step 2: Apply a Safe Cleaning Solution
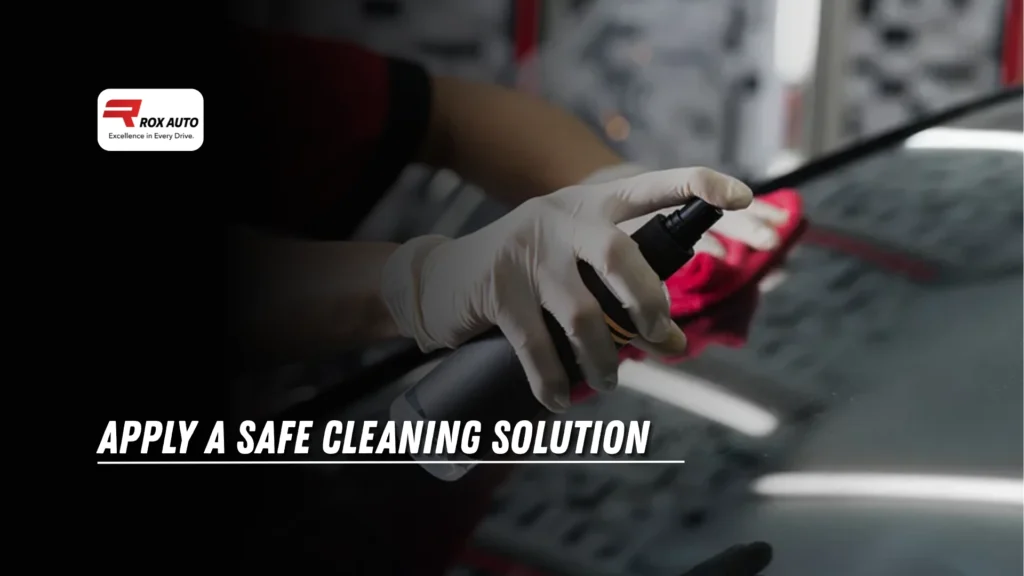
Once the window is dusted, fill a spray bottle with distilled water and add a few drops of mild soap. Alternatively, purchase a tint-safe window cleaner designed specifically for car window film. Spray the solution lightly onto the surface of the tint rather than soaking it. Too much liquid can seep under the film’s edges and cause peeling or bubbling.
When applying the cleaner, avoid letting it drip into the seams of the glass. A fine mist is enough to loosen grime while keeping the tint intact. By choosing the right cleaning solution, you protect against chemical damage and preserve the deep shade of your tinted windows.
Step 3: Wipe With a Microfiber Cloth in Straight Motions
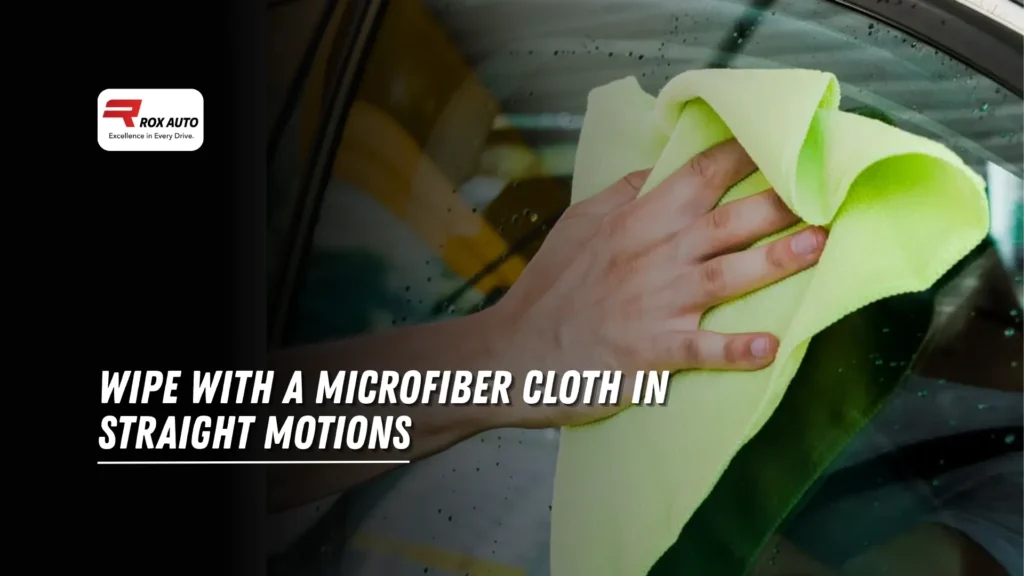
After spraying, use a clean microfiber cloth to wipe the glass. Always move the fabric in straight vertical or horizontal strokes rather than circular motions. Circular wiping tends to push dirt around and can leave behind visible streaks on tinted glass. Straight strokes create a polished, professional look.
Microfiber cloths are ideal because they trap dust and moisture rather than spreading it. Their soft texture also prevents scratches on delicate film surfaces. For extra clarity, dedicate one cloth for wiping and another for buffing the tint dry. This two-step approach leaves your tinted windows crystal clear.
Step 4: Dry and Polish Without Streaks
The final step is drying the windows thoroughly. Use a fresh microfiber cloth or flip your cloth to the dry side to buff out any streaks. Work from top to bottom so moisture doesn’t drip downward onto areas you’ve already cleaned. It ensures an even, spotless finish across the entire surface.
Polishing the windows not only improves visibility but also enhances the aesthetic appeal of the tint. Clean tinted windows should look smooth, glossy, and free of smudges. Taking the time to polish ensures your tint seems as sharp as the day it was installed.
Common Mistakes to Avoid
One of the most common mistakes car owners make is using ammonia-based glass cleaners. Ammonia breaks down tint adhesives and causes fading or bubbling. Products like household glass sprays may seem convenient, but they are harmful to tinted film. Always read labels carefully to ensure your cleaner is ammonia-free and safe for tint.
Another frequent error is scrubbing with rough materials. Paper towels, old rags, or abrasive sponges can create tiny scratches that weaken the tint over time. Even though scratches may look minor at first, they accumulate and make the film appear hazy. Avoid these mistakes by sticking to microfiber cloths and safe cleaning techniques.
Maintenance Tips for Long-Lasting Tint
Regular cleaning is essential for maintaining tinted windows, but frequency matters. A gentle cleaning every two to three weeks helps prevent dirt buildup and makes the job easier each time. If you live in a dusty or humid area, you may need to clean tinted glass more often. Keeping a microfiber cloth in your car can help you quickly wipe away fingerprints and smudges between deep cleans.
Another key aspect of tinted window maintenance is protection after installation. If your tint is new, avoid cleaning it for at least a week to allow the adhesive to cure fully. Cleaning too early can cause bubbling and peeling. Long-term, avoid sharp objects near the glass, and be mindful when loading cargo that might scrape against the tint. These simple habits ensure your tinted windows stay sharp and durable for years.
Conclusion
Learning how do I clean tinted windows properly is all about using the right products, gentle techniques, and consistent maintenance. By preparing with safe supplies, following a step-by-step cleaning process, and avoiding common mistakes, you can keep your tinted windows looking flawless. Not only does this improve your car’s appearance, but it also ensures the tint continues to provide UV protection, glare reduction, and privacy.
Frequently Asked Questions
1. Can I use Windex or household glass cleaner on tinted windows?
No, you should avoid using Windex or any household glass cleaner that contains ammonia. Ammonia can damage the adhesive on the tint film, cause discoloration, and shorten its lifespan. Instead, use a tint-safe cleaner or a simple mixture of distilled water and mild soap for safe cleaning.
2. How often should I clean tinted windows?
It’s recommended to clean tinted windows every two to three weeks, depending on your environment. If you drive in dusty and humid conditions, you may need to clean them more often. Regular maintenance prevents the buildup of dirt and keeps the tint looking fresh and streak-free.
3. What should I do if my tinted windows look hazy after cleaning?
If your tinted windows look hazy, it could be leftover residue from soap or cleaner. Use a clean, dry microfiber cloth to buff the glass in straight strokes until the haze disappears. Avoid over-spraying cleaner, as too much liquid can leave streaks or seep into the tint edges.
4. Can I clean tinted windows right after installation?
No, you should wait at least 7 days after installation before cleaning tinted windows. The adhesive under the tint film needs time to cure fully. Cleaning too early can cause bubbling, peeling, or damage to the tint’s surface.