

Want to get rid of old and peeling window film from your car. Because the tint is damaged, you want to change it, or it doesn’t meet legal requirements, removing it at home is possible with the right tools and techniques.
In this guide, we’ll go through a step-by-step process on how to remove window tint from car windows at home without damaging your vehicle.
Materials You’ll Need
Before you begin, make sure you have all the right materials. Here’s a list of the tools you’ll need to remove the tint safely:
- Heat Gun or Hair Dryer: To soften the adhesive so you can peel off the tint easily.
- Razor Blade: For carefully scraping the film off.
- Ammonia or Adhesive Remover: To dissolve any sticky adhesive residue left on the glass.
- Plastic Garbage Bags or Trash Bags: These will help block light and make the tint removal process smoother.
- Paper Towels or Microfiber Cloths: To clean the glass after the tint removal.
- Gloves (Optional): To protect your hands from the chemicals.
Step-by-Step Guide to Removing Window Tint
Here is step-by-step guide you can follow to remove window tint from your vehicle;
1. Preparation
Before starting, you need to prepare your car. Here’s what to do:
- Clean the Windows: Wipe down the windows to remove any dust and dirt. It makes it easier to handle the film and prevents debris from getting in the way.
- Protect Your Car’s Interior: You don’t want to get chemicals on your car’s upholstery and other surfaces. Lay down towels or use plastic sheeting to cover the interior.
2. Heat the Tint Film
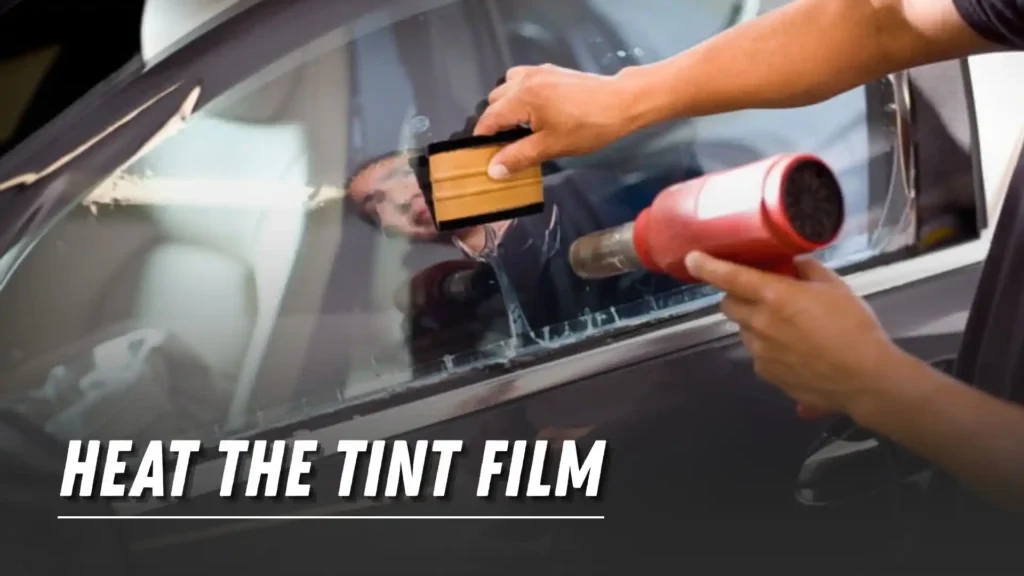
The next step is to soften the adhesive holding the tint in place. It is where a heat gun or hair dryer comes in handy.
- Turn on your heat gun or hair dryer to the highest setting and aim it at the edges of the tint film.
- Move the heat source in small circles to evenly distribute heat across the film.
- Be sure to keep the heat source about 6 inches from the window to avoid overheating.
The heat softens the adhesive, making it easier to peel off the film without leaving any residue behind. Be patient and take your time to ensure the entire surface of the film gets heated properly.
3. Peel the Tint Film
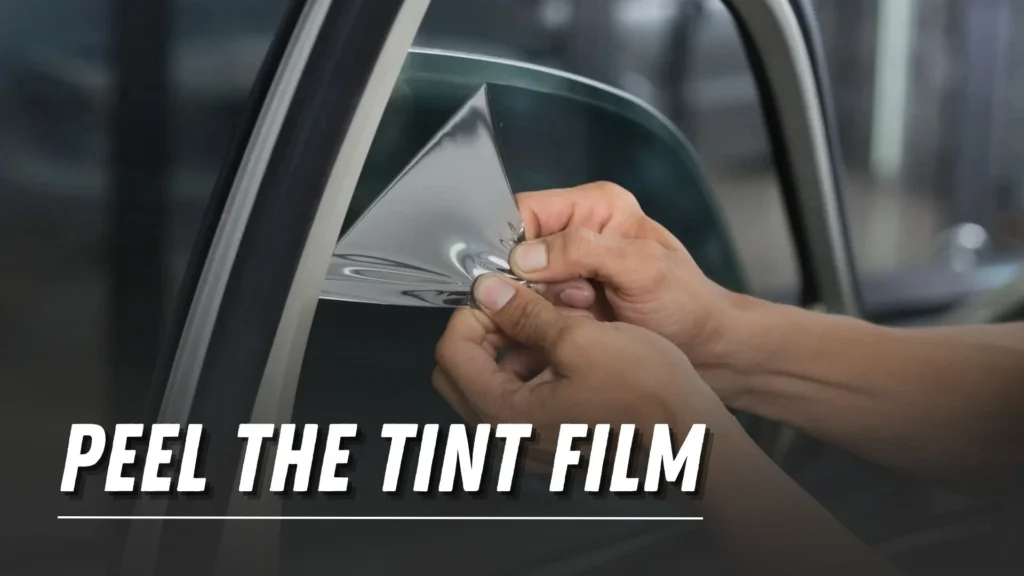
Once the tint film is heated, it should be much easier to peel off. Start at one corner of the window, gently lifting the film with your fingers and a razor blade. Work your way across the window in a smooth, steady motion.
- Tip: If the film starts to tear, reheat the area a little more to loosen the adhesive.
- Be Gentle: Use light pressure when peeling so you don’t risk scratching the glass or damaging the tint.
Once you have peeled off most of the tint, you should be left with just a little bit of adhesive residue.
4. Remove Leftover Adhesive
Now, it’s time to deal with any sticky adhesive that’s left behind. Don’t worry, this is a normal part of the process.
Here’s how to clean it up:
- Use Ammonia or Adhesive Remover: Spray a small amount of ammonia or adhesive remover onto the adhesive residue. Let it sit for a few minutes to break down the glue.
- Scrape Carefully: After the adhesive has softened, take your razor blade or utility knife and gently scrape off the remaining glue. Be sure to use a gentle hand so you don’t scratch the glass.
5. Clean the Window Thoroughly
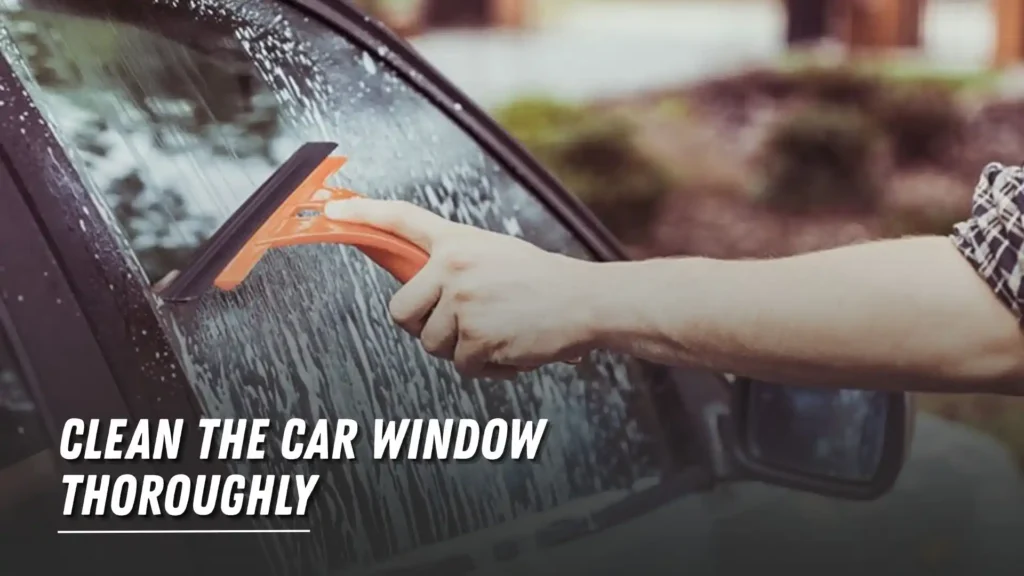
After the tint and adhesive are removed, it’s important to clean the glass. Here’s how to do it:
- Use paper towels or a microfiber cloth to wipe away any leftover chemicals or residue.
- Clean the glass with a regular window cleaner to give it a sparkling finish.
Tips for a Successful Window Tint Removal
- Work Slowly and Carefully: Rushing through the process can lead to mistakes, like damaging the glass or leaving film behind. Take your time and do it right.
- Use Plastic Trash Bags for a Better Peel: To make the process easier, some people use plastic trash bags to cover the window after applying heat. This traps heat, making the tint film easier to peel off.
- Heat evenly: Make sure you’re heating the tint evenly. If you apply too much heat to one spot, you could damage the glass or burn the film.
Common Mistakes to Avoid
Here are few common things that you should avoid while removing the tint from your car window:
- Overheating the Glass: It’s tempting to keep the heat gun or hair dryer in one spot, but too much heat can crack and damage the glass. Always move the heat source in small, circular motions.
- Using the Wrong Tools: Using sharp objects or the wrong chemicals can cause scratches or damage the window. Stick to safe tools like a razor blade and adhesive remover.
- Not Protecting the Interior: Remember to cover your car’s interior with plastic or towels. Chemicals and sticky residue can easily damage the upholstery.
Conclusion
Removing window tint from your car windows at home is possible if you take the right steps and use the right tools. By following these instructions, you can safely and effectively remove window tint without causing damage to your vehicle. Follow the steps carefully, and you’ll have your car’s windows looking great again in no time.
If you’re unsure or encounter any challenges during the process, consider consulting a professional to avoid damage to your windows.
